Wednesday, February 29, 2012

Shades of Pink Tablescape


 These beautiful silk roses with dark brown
French script caught my eye and inspired this pink
table.  I think I am just wishing for warm
weather as we got blanketed with snow
this week!


The pink mercury glass also jumped right into
my shopping cart as I was treasure hunting
at Home Goods this week.  I thought the
two of them went so well together and they
immediately had a place on my kitchen counter.


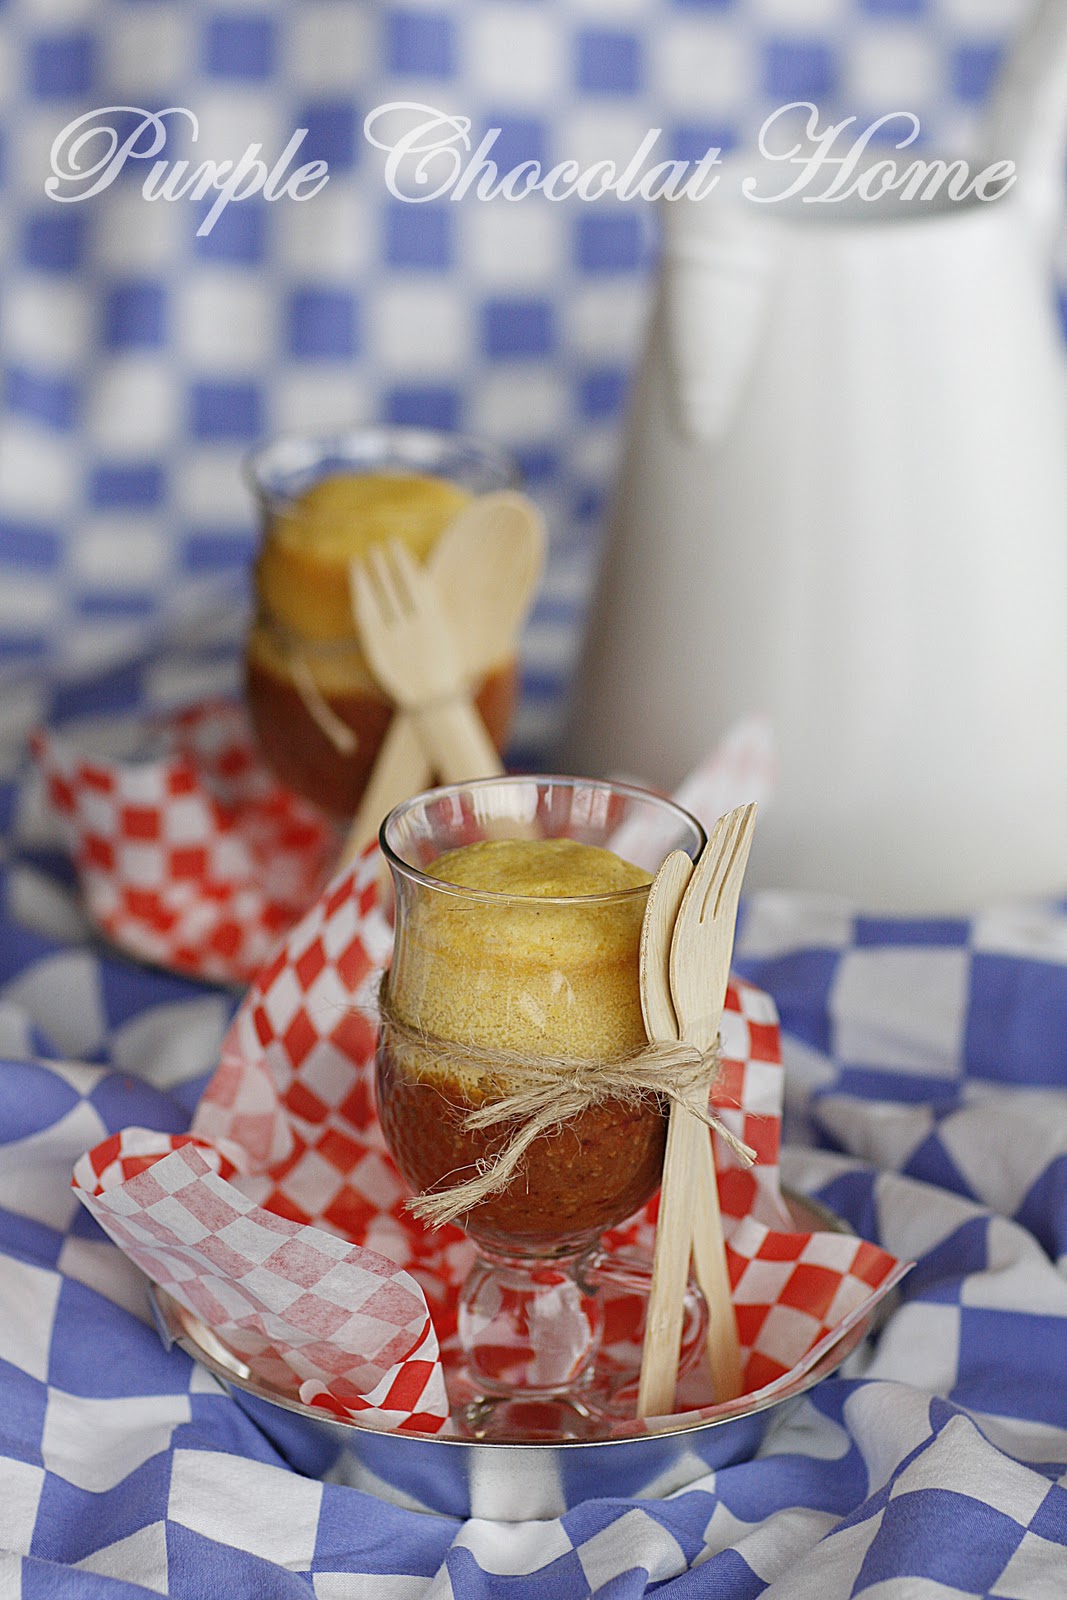
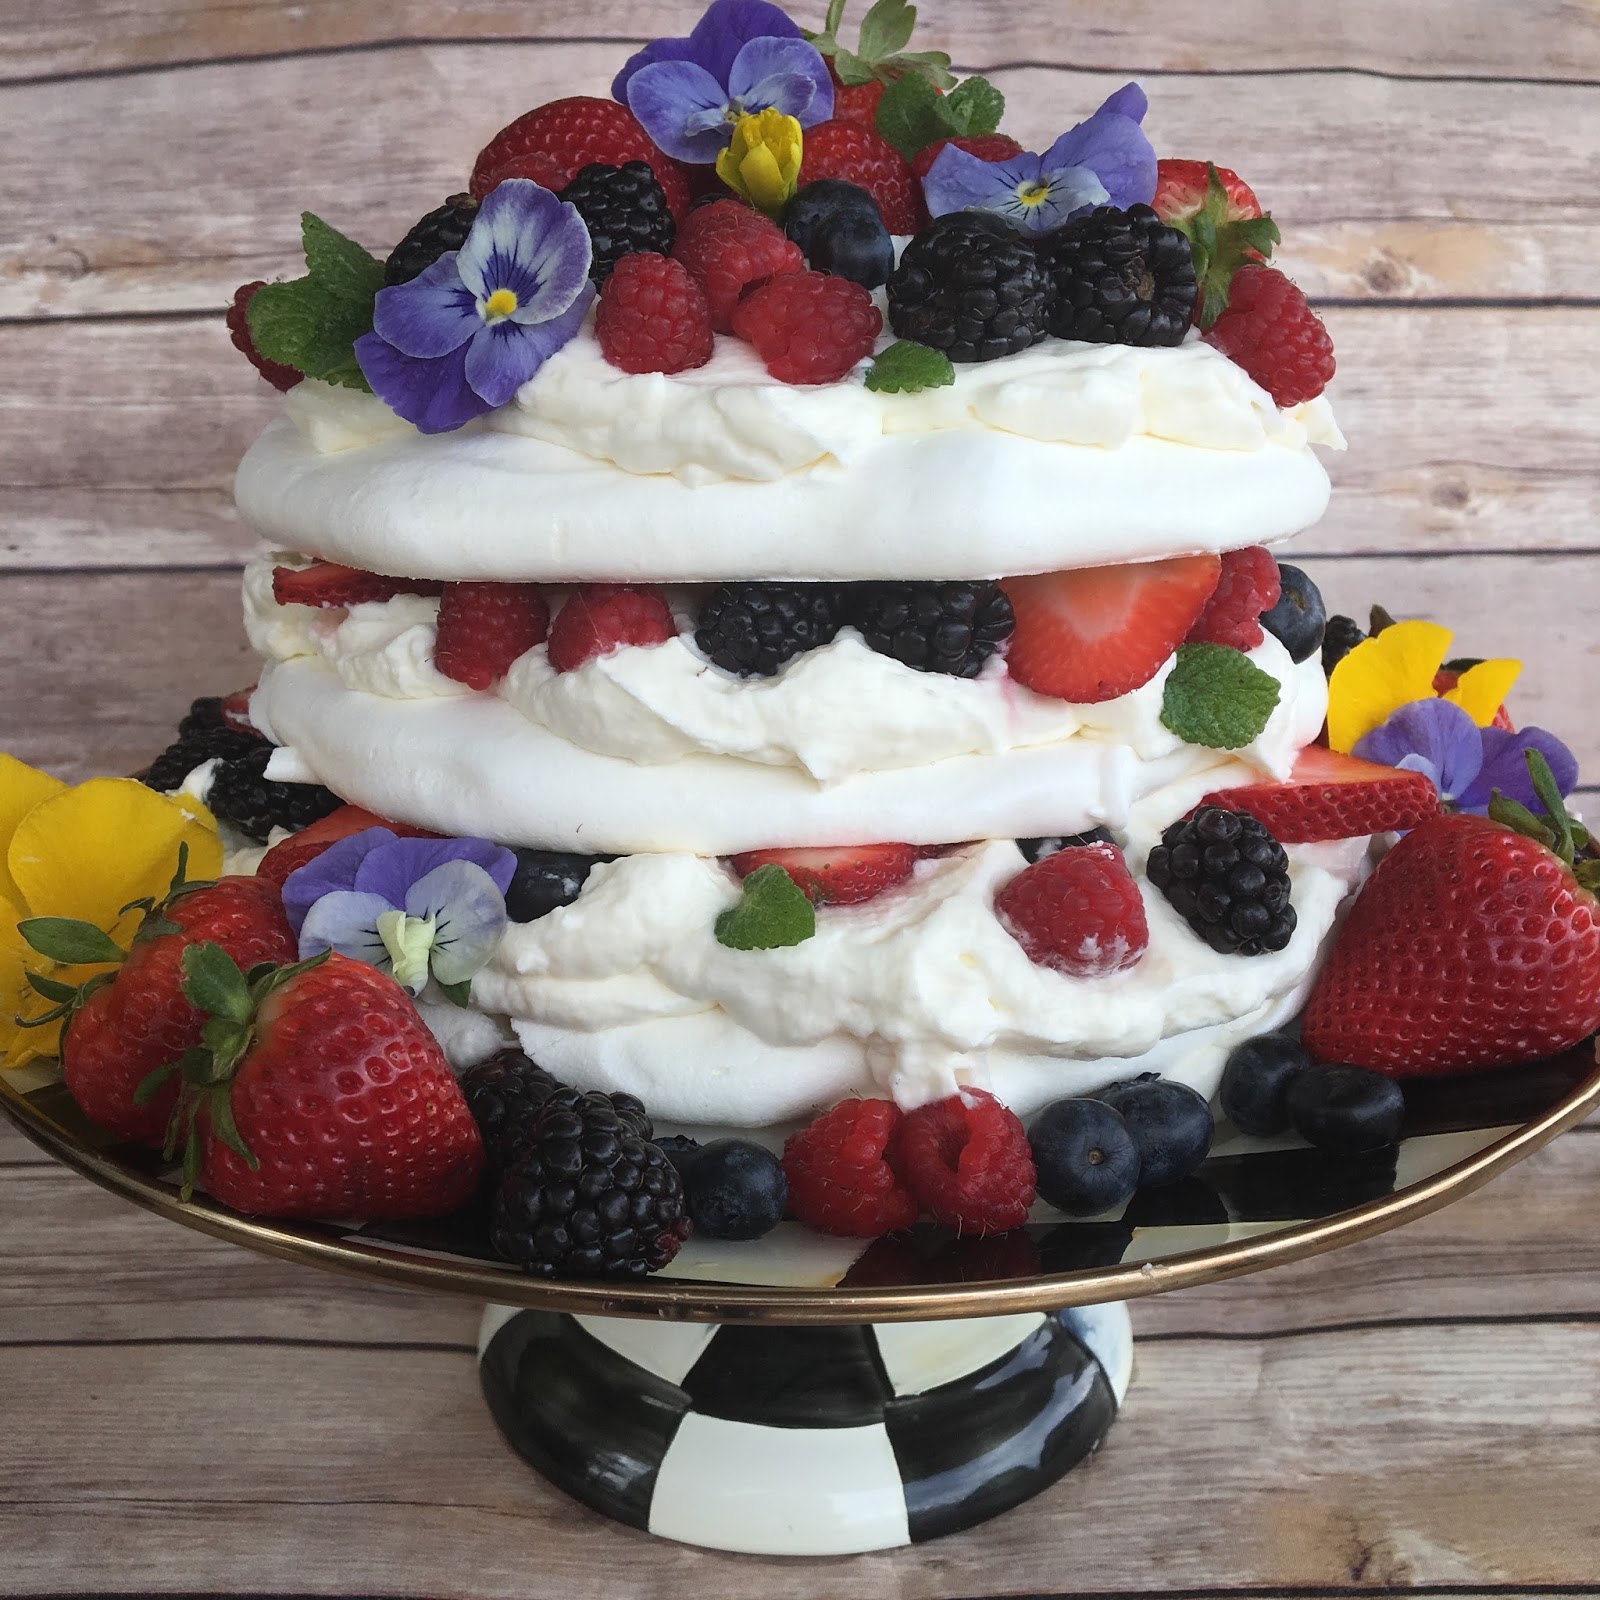
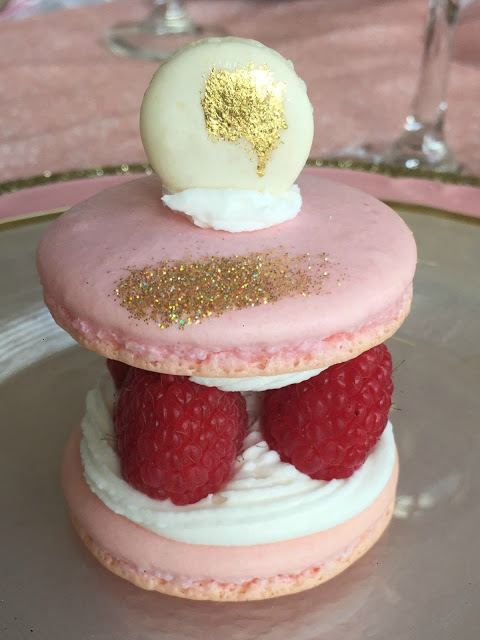
I created this pink confection to go along with the silk
roses and mercury glass.


Pink and white layers starting with a jeweled charger
and topped with a beaded napkin ring make up today's table.


My aunt's pink depression ware glasses in two sizes
seemed perfect with the roses.  


The table has a romantic old fashioned feel with
a modern edge to it.  The French script roses give
it that updated feel.


I chose my Old Maryland Engraved sterling that I
received for my wedding.  My parents felt that everyone
should own sterling, so they gave us four place settings
when we married and an additional one each year for
Christmas until we had a set of 12.  I am so glad they did.


A little jeweled candle holder adds a fun
textural element to the center of the table.


This table is just so soft and romantic.


It sets me dreaming for warm and sunny
days in the rose garden.....


....but for now, the garden looks more like this!

I will be posting this with

White chargers - Z Gallerie (this year)
Pink and white plates - Tai Pan
Candle holder - Tai Pan
Pink Goblets - Inheritance from my aunt
Sterling silver - Old Maryland Engraved
Roses - Home Goods
Pink Mercury Glass - Home Goods
Pink napkins and rings - Home Goods


Friday, February 24, 2012

Bacon Wrapped Stuffed Chicken - Pinterest Week


It all started one week night when I was trying to
decide what to make for dinner.  I really love to
cook (but not clean up) but I don't love to decide
what we are having.  I decided to just open my
Pinterest Recipe Pantry and choose something.
This Bacon Wrapped Chicken caught my eye
and I had all of the ingredients - that was really important as I
had no intention of running to the store.


When I pound chicken, I place it in a plastic bag,
but not tightly sealed so that the bag doesn't pop
open.  Then I use my french rolling pin to evenly
pound the raw chicken thin.


The recipe called for garlic and chive cream cheese but since I only
had plain cream cheese, I decided to add my own 
flavorings so I chopped a little chives and added some
granulated garlic.


I found the recipe on Blogchef.net.  Bobby is the author of
Blog Chef and there are so many yummy
comfort food recipes on this site.  Go give it a try.

Bacon Wrapped Stuffed Chicken

6 boneless skinless chicken breast pieces
(pounded thinly)
8 oz. cream cheese
2-3 T. finely chopped chives
1/4 tsp. granulated garlic
12 pieces partially cooked bacon
(I used the precooked bacon from Costco)
I like to use the precooked or partially cooked
bacon so that the bacon still isn't raw when 
the chicken is done and I don't like wiggly bacon.

Preheat oven to 400 degrees.  
In a medium bowl mix the cream cheese,
chives and garlic. 

Spread the thinly pounded 
chicken breasts with the cream cheese mix.

Roll the chicken breasts up from the narrow end
and set aside.  
Place the precooked bacon on a plate covered
with a paper towel.  Top with another paper towel and heat
in the microwave for 1 minute to soften the bacon.
Now wrap the bacon around the chicken.
Secure with toothpicks.

Season with a little sea salt and freshly ground pepper.

Bake at 400 for
about 20-25 minutes or until the juices run clear.


(This is the uncooked chicken.  See how the precooked bacon
is already brown and mostly cooked?  You will to just warm 
it up a little in the microwave so it will be flexible enough to
wrap around the chicken.)


Oh, when you slice it open, you get the creamy
goodness of the cream cheese and the salty crunchiness
of the bacon in each savory bite.  Definitely a keeper!
This was delicious and simple and is certainly
company worthy.

I have a lot of people tell me they don't like recipes
they have tried on Pinterest.  I tell them that just 
because the picture looks great doesn't mean the
recipe is going to be great.  Sometimes you may want to
tweak the recipe a little to make it so you like it (like
using the precooked or partially cooked bacon) but 
we thought this recipe was great.

I will post this with 


Tuesday, February 21, 2012

Apres Ski at Hidden Pony Lodge


President's Day weekend couldn't have been
more perfect as we got tons of fresh
powder for skiing at our mountain home
at Sundance.


One beautiful thing about Utah's weather is
that often the next day after a storm is sunny
and bright which makes skiing so much fun
and makes the snow just sparkle like diamonds.


Our home, Hidden Pony Lodge sits right 
on the ski slopes so we can watch people
come down the hill.


When I designed the interior of the cabin I wanted
a timeless native Indian look.  The plates
I chose were Pfaltzgraff's Midnight Sun
"inspired by the traditions of America's Southwest."


Midnight Sun is matte black with glossy black geometric
designs, perfect for an updated Native American design.


Swirls of silver accent the silver napkins.


Last year I did a tablescape at 
(click to see more of the interior of the home)
left me a comment suggesting
the perfect flatware for the home called
Pueblo from International Silver.

It wasn't long after that the Cascade dishwasher
detergent changed its formula and it turned all
of my flatware a horrible dark gray.  I was so
glad that Marlis had suggested this new flatware
and at such an opportune time.  

It really picks up the Southwest motif that runs
throughout the rest of the mountain home.


Today we have moved out on the sunny
deck for an Apres Ski trayscape.


I just love the twig chairs and the twig table
which came outside for the day.


I found two of these unique tree chairs at a store in Salt Lake City
when I did the interior of of the home 17 years ago.


I also made the leather and suede cushions
and pillows and decorated them with
beading.  So simple if you just use
a leather needle on your sewing machine
and leave the raw ends exposed on the sides.


These silver pieces are just tied on with strips of
leather.


Cowboy boot mugs are perfect for the
casual table.  You can find these online
for about $3 each sold in sets of 12 -

Of course everyone wants to
drink out of these.

A silver organza placemat is a great contrast to the
rustic table, tray and setting.


Warm soup and fresh bread out on the sunny deck -
what better way to enjoy watching skiers swoosh down
the Sundance slopes.


Wish you could all be here!


Hope you had a wonderful President's Day weekend too.

I will be posting this with

Outdoor Wednesday

Monday, February 20, 2012

Chili and Cornbread In A Cup


It is cold outside and what better way to take away the
chill than homemade chili and cornbread?  How
about combining the two into one clever and
creative dish that showcases both?


Who hasn't seen this creative presentation
for chili and cornbread?
I pinned
this one quite a while ago from Giver'slog,
and decided to give it
a try.

Since we are all lovers of Pinterest here at
Purple Chocolat Home,
 we decided to try and
make some of the delicious things we have
pinned or marked.  Pinterest is like a personal set
of files of things you want to save and be able to
go back and find.  Before Pinterest, I was going through
reams of paper printing off your wonderful ideas that
I wanted to get around to or to save!  (A little complaining
from hubby about paper waste there!!)  Still, it was hard
to go through all of them and find what I was looking for.

Enter Pinterest - now not only can I save every great idea
(without paying for ink and paper) but I can see great
ideas you have found.

Pinterest is now my greatest referral source and has
increased my readership.  I love that too!


I saw this fun blurb on Pinterest and decided to make
a whole week of Pinterest items.  Of course I have 
pinned so much, I could do a whole year of things but
really I am just visiting your great blogs 
and trying out
things you have suggested!

 I decided to tweak this one and make my favorite super quick
recipe for chili.This recipe is perfect for something
that is thick and tasty but is done in a flash.

I developed this quick chili recipe one time
when I was out of time and needed 
a thick rich chili in minutes to top Navajo Tacos.

I like my chili thick, almost thick enough
to stand your fork in and that can take a
lot of simmering.  Substituting refried beans 
for kidney or chili beans gives that luscious 
creamy thickness instantly.

Fast As A Rattlesnake
Southwest Chili

1 1/2 lb. ground beef
1 T. onion powder
1/2 tsp. granulated garlic
2 T. chili powder
1 1/2 tsp. cumin
1 tsp salt
1/2 tsp. black pepper
1 tsp. oregano
28 oz. finely diced tomatoes
30 oz. refried beans
3/4 C. warm water (more if needed)

Brown the ground beef in a large saucepan.  Drain the
fat.  Add the spices and stir while still on the heat for
about 2 minutes to toast the spices and bring out
additional flavor.  Stir in the tomatoes, the refried
beans and water. Heat to a boil and let simmer for 10 minutes,
stirring often to avoid sticking.  Add additional water if
desired to make it how thick you want it.

I decided to make my quick and thick homemade
chili and top it with the kind of cornbread I love,
sweet and cakelike.


Sweet Cornbread

1 1/2 C. flour
3/4 C. yellow cornmeal
2/3 C. sugar
3/4 tsp. salt
2 1/2  tsp. baking powder
1/4 C. butter, melted
1 1/4 C. milk
1 egg

Preheat oven to 400. 
Use Pam with flour only on the bottom of an 8x8
inch pan.  

 Mix the dry ingredients together.
Melt the butter and add the milk.  Microwave the milk and
butter mix for 1 minute to scald the milk.  Stir the milk
into the flour mix and then stir in the egg.  

Spoon into the pan and bake for 20-25 minutes or 
until golden.  Let cool 5 minutes before cutting.
(Or if you are really in a hurry,
Marie Callender's Cornbread
Mix is great too if it is available where you live.)


To make the Chili and Cornbread In a Cup
(or in a jar) fill the bottom third of your ovenproof
container with warm chili.  Make sure it isn't too hot
because it could crack a cold jar.  Fill the next third with
the cornbread batter.  Bake in a 350 degree oven for
20-25 minutes or until the bread is cooked through
and the chili is bubbling.


And I had to take the suggestion given on her
blog and top the cornbread with soft creamy
butter and rich honey!  Yummy!
(The honey and butter get eaten in the first few bites
so don't worry about it mixing in the chili, unless you
want it to of course!!)


(I served them in small pie tins with checkered
tissue and tied on bamboo forks and spoons which
I found at a local restaurant supply.)


"This is one of the funnest meals I've had!", said my hubby
after he finished the meal!  Now I LOVED that!!


I will be posting this with
Foodie Friday


Saturday, February 18, 2012

From Ugly Duckling to Beautiful Swan - A Pillow Makeover

Time for a little sprucing up around Purple Chocolat Home.

We did a little redecorating in the living room and these
large leather double wide chairs needed something.

I had some ugly striped pillows from the last model
home I decorated and decided to recover them.

I found this beautiful flocked damask on a burlap
type weave that I thought would be beautiful


Here is a before shot.  I had never used these pillow,
they just came with a couch we used and I was
actually getting ready to ship them off to a thrift
store.


Recovering pillows is one of the easiest redecorating
projects.  If you haven't given it a try, you should.

I just cut open the fabric and then used it as a pattern
for the new fabric.  With the damask pattern, I had to
be careful to center the design.  I was going to try and
reuse the fringe, but it just fell apart when I dismantled
the pillow so I bought new instead.


After the two sides of the pillow were cut out, I sewed
the fringe on the right side of the pillow front.


Next I placed the two pieces right sides together, being sure not
to get the end of the fringe caught in the seam, I sewed
the two sides together with the fringe.

Trim the corners and turn right side out.
Stitch the opening closed and fluff the fringe.


To tuft the pillow you will need an upholstery needle.
You can buy these at almost any fabric store.  This one
is about 8 to 10 inches long.  This way the needle goes
all the way through the thickness of the pillow.  I used
the more expensive jeweled button for only one side
and this faux leather button for the opposite side.
I also used heavy duty upholstery thread and tied
each one off separately for extra security.


Throw on another purchased pillow and
pull up the ottoman and the project is done.

There are two of these chairs so I made two of 
the pillows and saved a fortune.

I will be posting this with

Fabric from Home Fabrics


Follow me on Instagram